
How to use BoxSeek QR.
Start with one box. Add a few things. Find one again.
Open it on your phone
Open BoxSeek QR on the phone where you will keep your inventory. No account is needed to begin. On supported browsers, use More → Install app when offered, or your browser’s Add to Home Screen / Install app option. You can also keep using the browser.
Create your first box
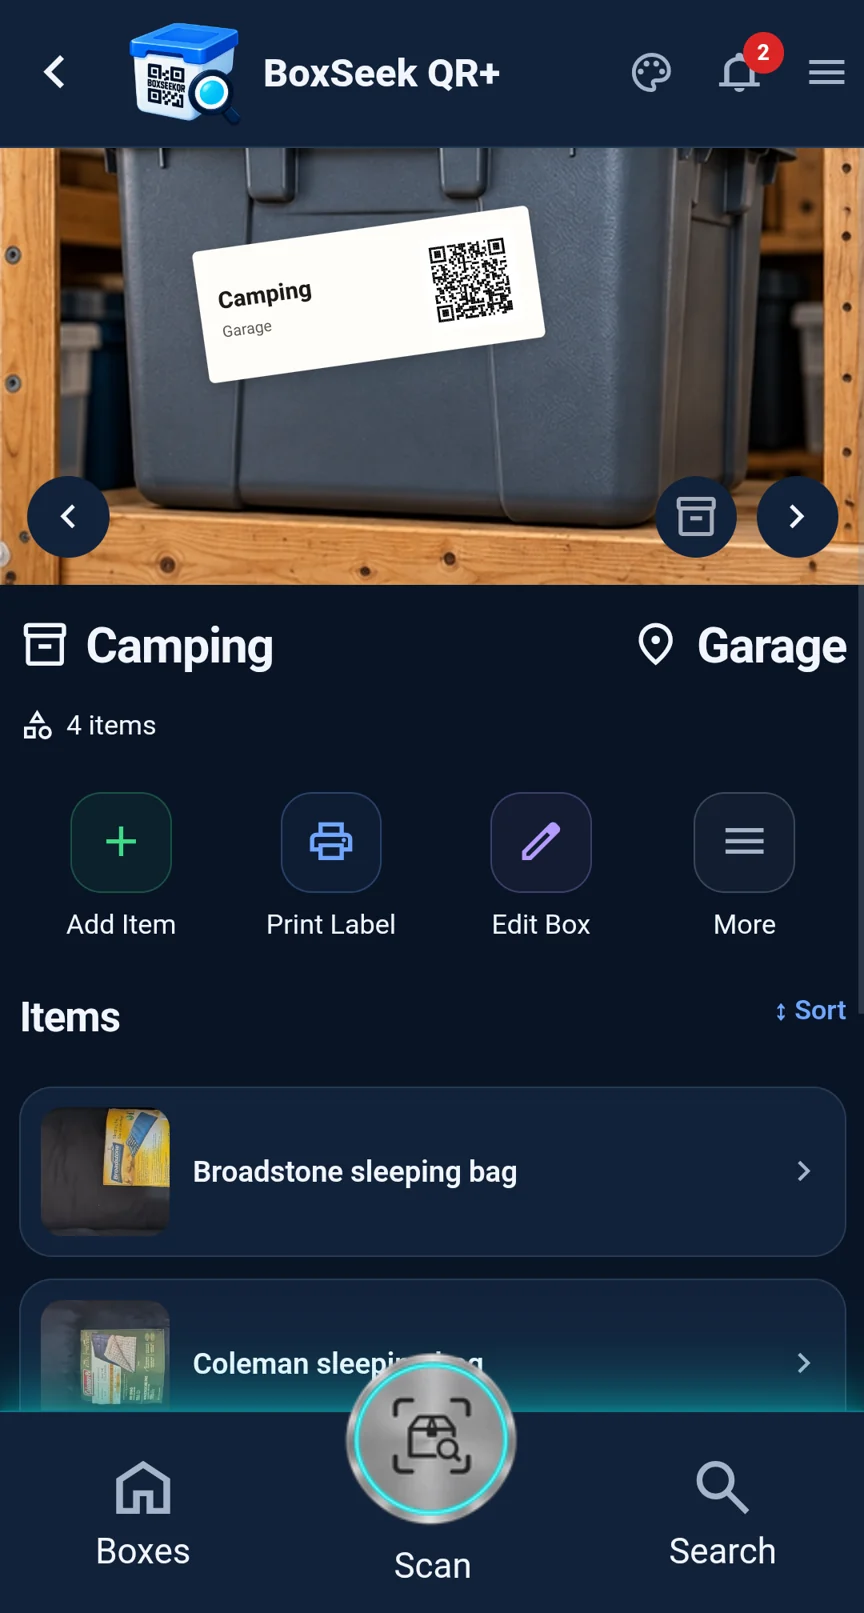
Choose Add your first box (or add a box from Boxes). Give it a recognizable name, location and optional notes, then save it. A shelf, drawer or storage bin works too. Location detail such as “Garage · rack 2 · top shelf” makes finding things easier.
Add an item
Open the box and choose Add item. Enter a name and quantity, attach a photo with Take photo or Choose photo, and fill in any useful details. Choose Save item, then Add another item or Open item. Photos and AI are optional; manual entry remains available.
Fill details from a photo
Attach a photo, then choose Fill details from photo. Review the proposed names and details before adding the items. Suggestions may be wrong, and value estimates are not appraisals. Online photo processing needs a connection and uses the allowance shown in the app.
Use Quick Add
Use Quick Add to capture photos for later review. Choose Process photos now or Wait · Keep as drafts. Open Quick Add to select waiting drafts and process them, review the identified items, check their box assignments and complete the addition. Review the saved records before relying on them.
Search and scan
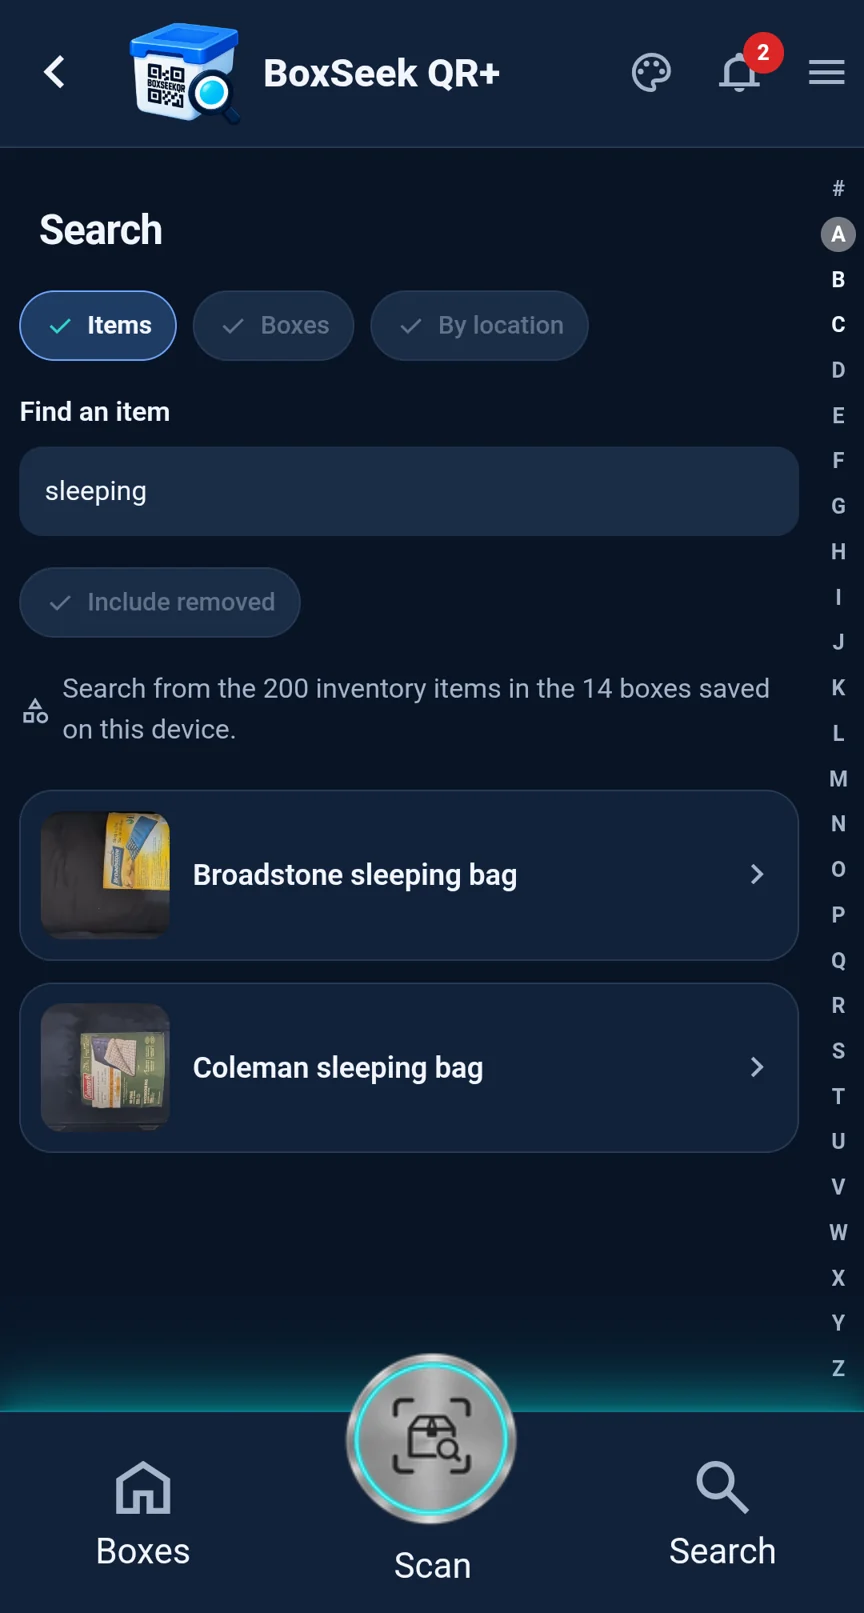
Open Search and enter an item name or descriptive term. Use the photos in the results to recognize the item and open its record to see the box and location. In Scan, allow camera access and point at a BoxSeek label. A scan looks up your saved inventory; it does not identify unrecorded contents in a closed box.
Print labels
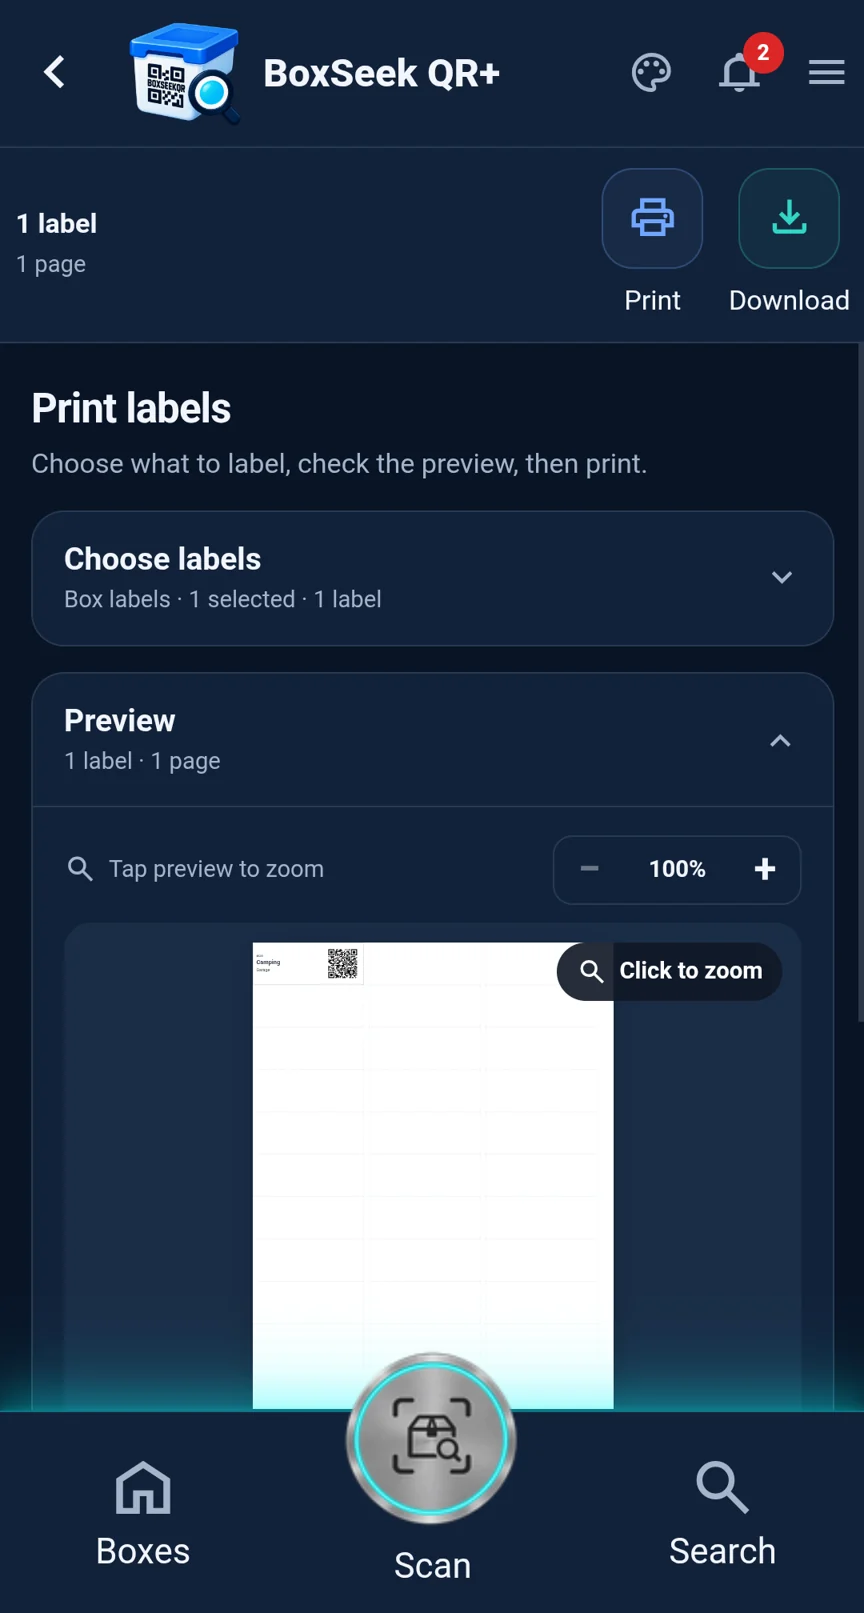
Open a box and choose Print Label. For its item labels, use More → Print item labels; you can also print an individual item label from its actions. In the label workspace, choose the labels and layout, check the preview, then Print or Download. Match the paper and margins to your printer and test a label scan before printing a batch.
Keep locations and quantities current
Edit a box when its location changes. Edit or move an item when you relocate it, and adjust quantities as stock changes. The saved location is the one search and QR lookup will show. Use the box action Contents still match after checking the physical contents.
Record a loan and return
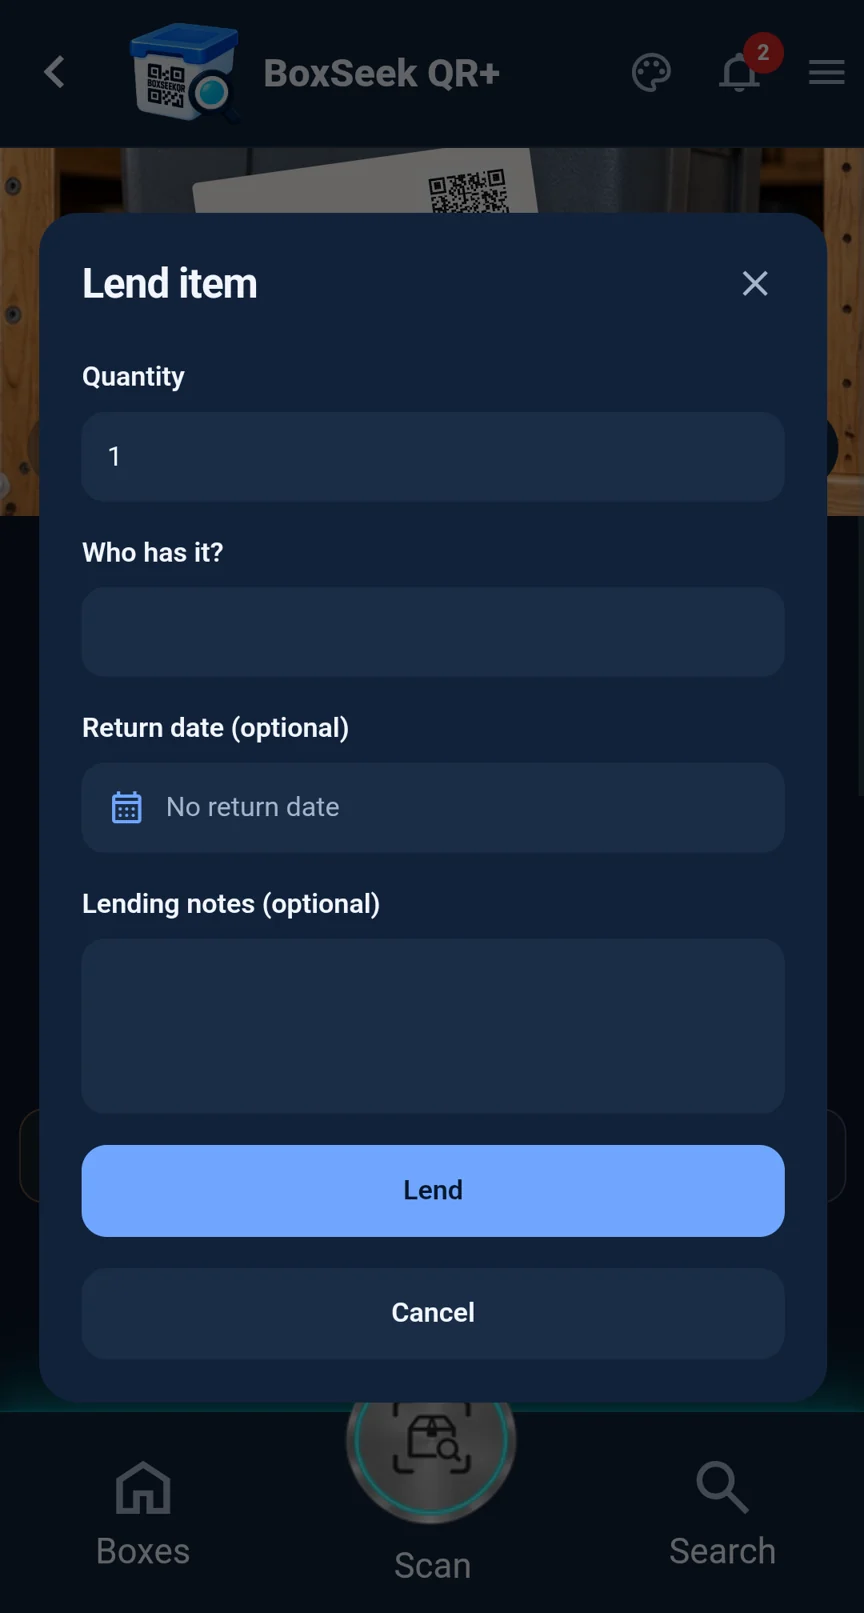
Open an item and choose its lending action. Enter the quantity, Who has it?, an optional return date and lending notes, then choose Lend. When the item comes back, record its return in the item’s actions so the inventory reflects what is actually available.
Use reminders and weather warnings
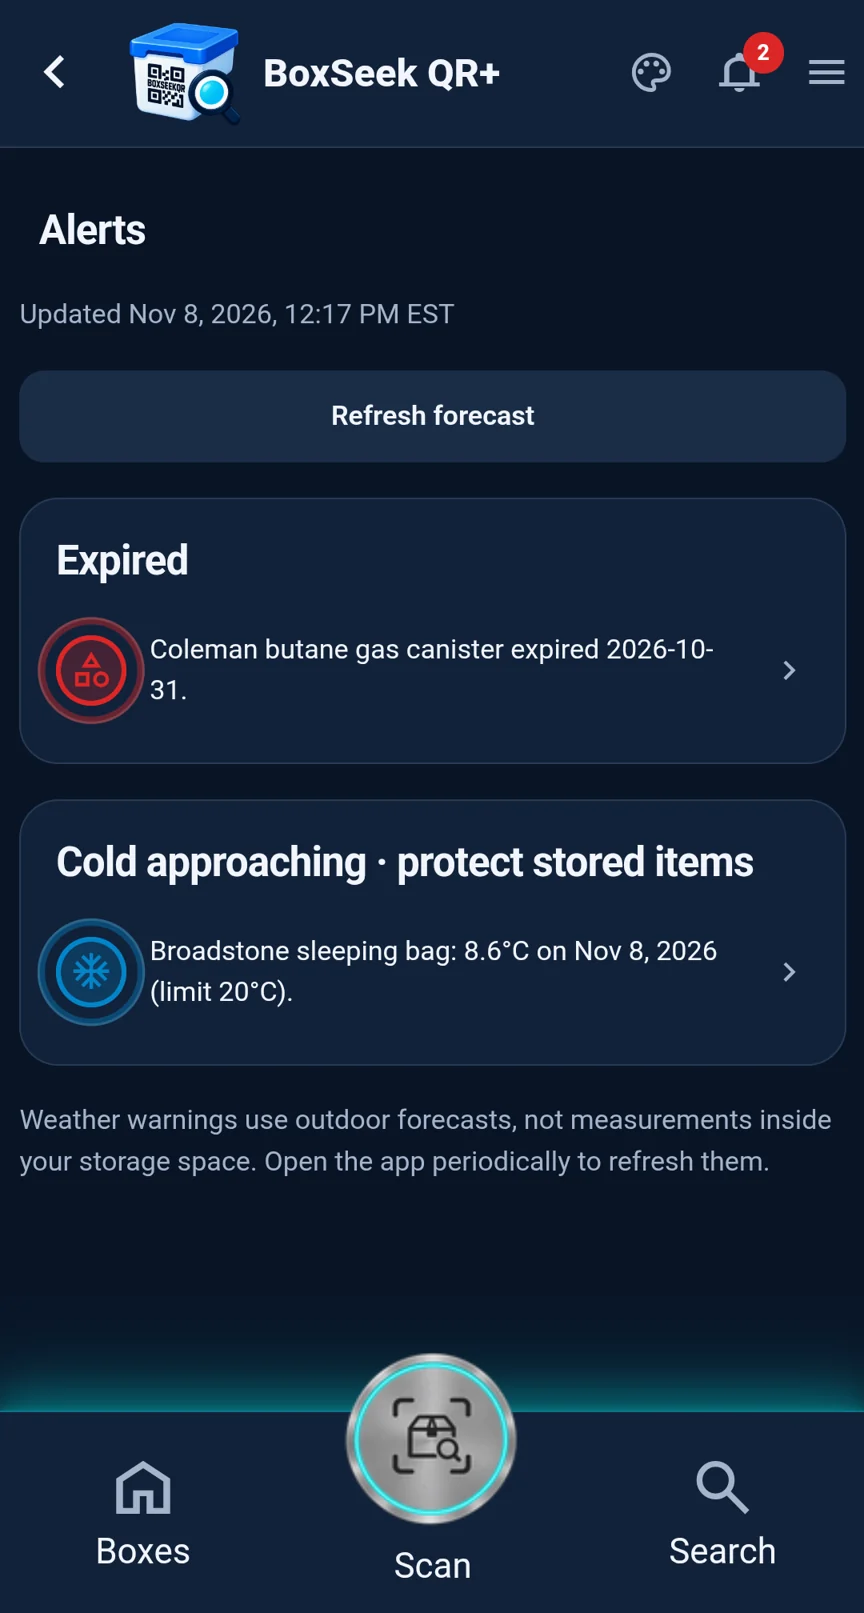
Add expiry dates, return dates, seasonal information or temperature thresholds to relevant items. Check Alerts in the app. Under More, set reminder lead times and choose a city for Cold & heat warnings. Weather alerts use outdoor forecasts, not a sensor inside your storage. Forecasts refresh when using or returning to the app; they do not continuously refresh while it is closed.
Back up and export your inventory
Go to More → Database → Download Database. Save the ZIP backup, which includes databases and separate image files, outside the app. Export spreadsheet creates a CSV for spreadsheet use. The spreadsheet is not a replacement for the full photo backup. Back up before clearing browser data or changing phones.
Restore carefully
The current Restore Database action asks you to select a backup file and confirm replacement of the current inventory. Export your current inventory before restoring. Keep the downloaded ZIP and its image files intact; do not assume a CSV can restore photos. If your backup format is not accepted, retain the original file and contact support before replacing or clearing anything.
If something does not work
For camera problems, check your browser’s camera permission and use a secure HTTPS connection. If online photo processing or forecasts fail, check your connection and retry. If an item is missing, check the selected inventory under More → On this device, the item’s box and the spelling in your saved record. Keep regular backups and contact The Mind Factory if you need help.